

I had a pair a fairly heavy duty scissors that I was planning to use, but started getting excited about other options, including the electric dritz scissors. Other Cozy builders were using the rotary "pizza cutter" type tool. I had tried an actual pizza cutter with little success, but my daughter mentioned that she had sliced her finger using her rotary cutter while sewing and didn't want it any more, so I borrowed it from her. Works great.
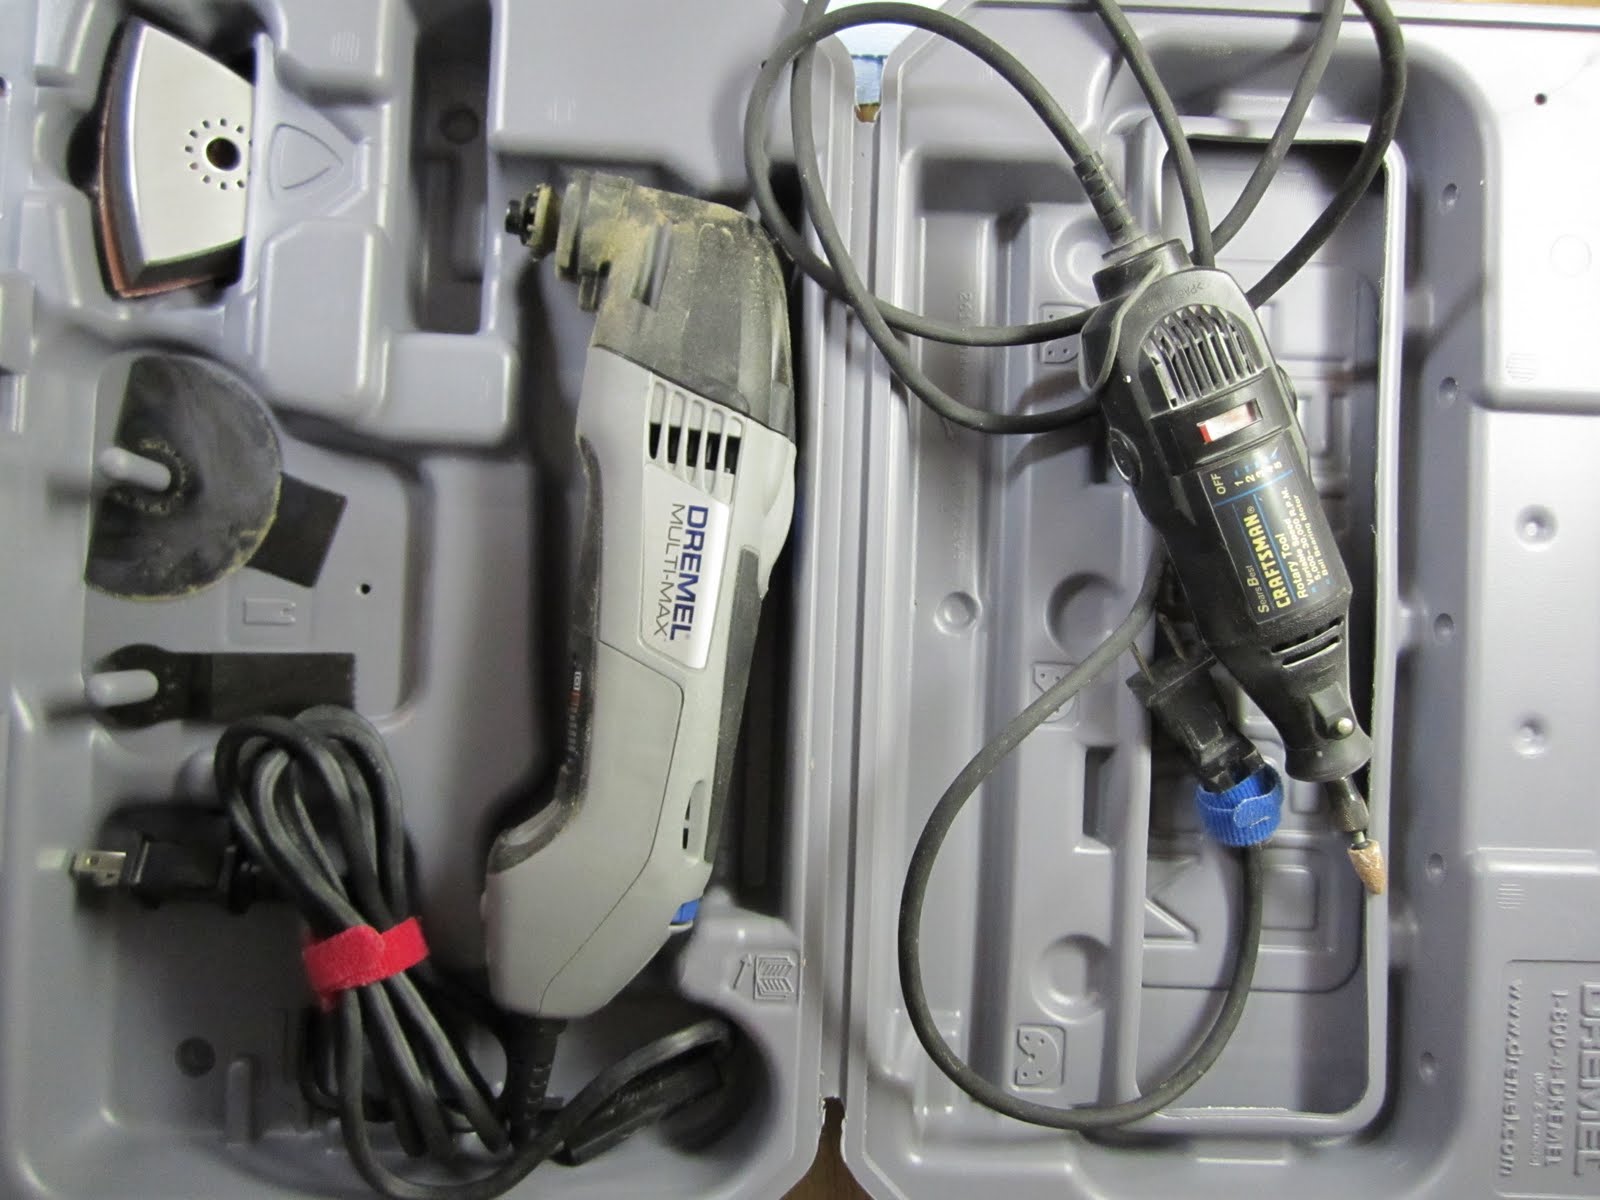
I already had a Dremel rotary tool and bought a Dremel oscillating tool (Fein knockoff, but seems to work just fine, and had good reviews online).

I bought a Smart Level years ago when I first started building and used it to level the workbench. A great tool, but kinda pricey, so in hindsight I might have waited until I actually needed it for leveling the fuselage.

I waffled between buying an epoxy pump or going cheap on the scales for awhile. Did I mention I was cheap? I figured I'd start with a scale and see how well it worked for me. I had built the Rutan scale years back, but it was set up for Aeropoxy, and I had decided to try MGS for awhile, and the lever arm wasn't long enough for MGS. I was also a little uneasy about the accuracy of the Rutan scale, even though I'm sure dozens of canards were built using it with no problem.

 After doing some research, I decided to model my scale setup on what Charles Furnweger had built, combining it with the epoxy hot box with a light bulb to heat the epoxy. I didn't want to spend a lot of time building the custom thermal control electronics Charles had used, though, so I did a little bit of surfing on Youtube and saw a lot of guys using a "lower thermostat" from a hot water heater to control the temperature in incubators they were building to hatch chicken eggs. I found the thermostats at the hardware store for a few bucks. I noticed in the videos that a lot of the incubators were cycling on and off quite a bit, though, and decided to use a dimmer switch to keep the light bulb just bright enough to maintain the correct temperature. I used some of the leftover 3/8" plywood from my hurricance plywood stash, which in hindsight wasn't the best choice. I wasn't too careful when drawing up the dimensions, so there was a lot of trial-and-error cutting before I finished. I used household insulating foam with a foil backing inside. I'm not too proud of the craftsmanship on this one, but it works (I think). Here are a few pictures:
 After all the foam cutting I did while building the hot box, I realized I was going to have to get serious about dust management. Tracking foam dust into the house did not make the boss happy at all. I found some paper booties I had bought years back and use them every time I'm cutting foam now. I found that the leaf blower works much faster than a vacuum or broom in clearing most of the dust away. I'm going to have to borrow the household hand vac as well - hauling out the shop vac is just too much hassle for small jobs.
No comments:
Post a Comment